How to Make Avalanche Cookies Perfectly
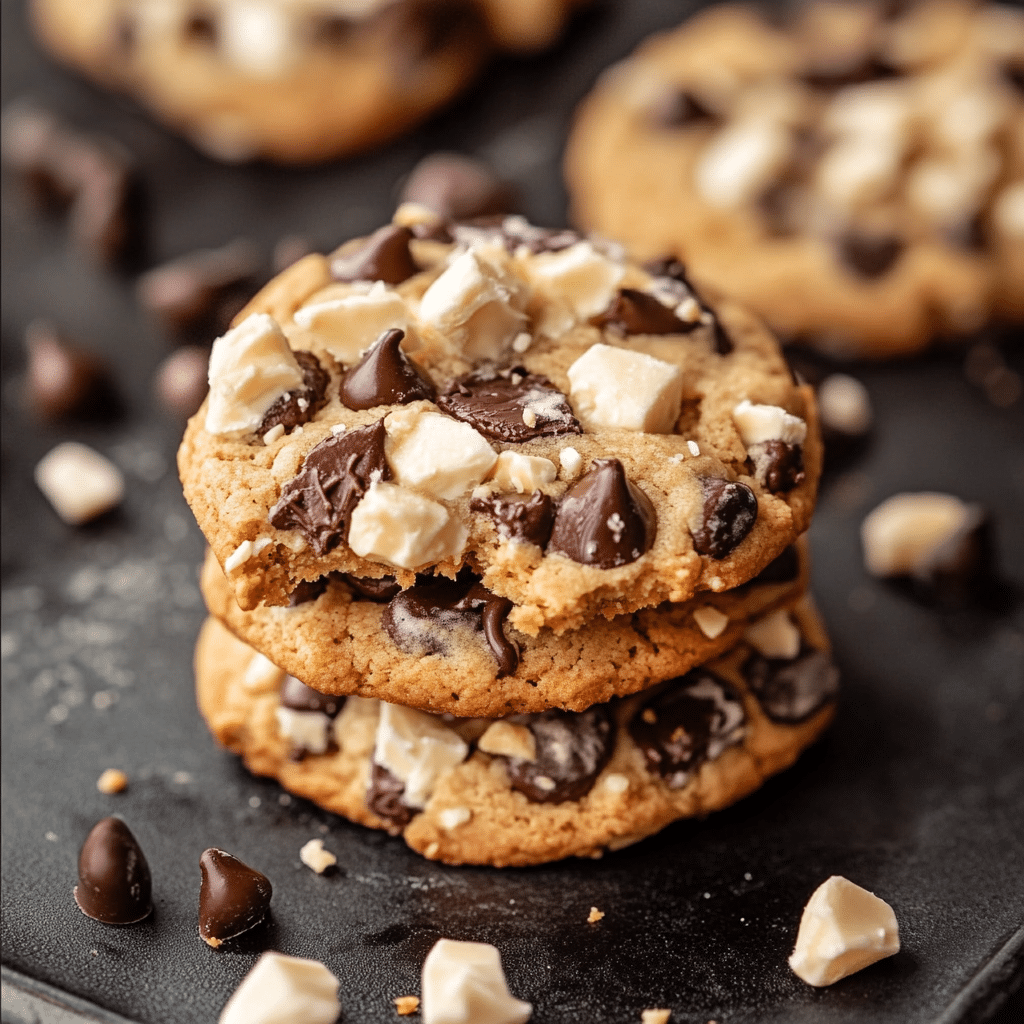
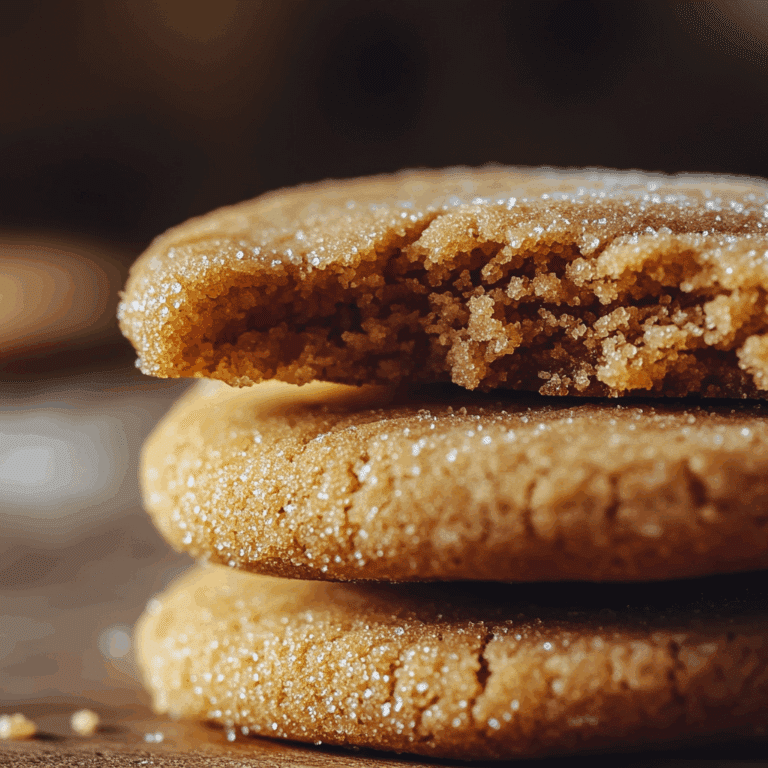
If you’ve ever craved a cookie that’s soft on the inside, packed with chocolatey goodness, and dusted with a snowy blanket of powdered sugar, then Avalanche Cookies are your new best friend. These delightful treats balance chewy textures with rich flavors in a way that makes them utterly irresistible. Whether you’re baking for a holiday, a party, or just because, learn how to make Avalanche Cookies perfectly with our easy step-by-step guide for soft, chewy, and delicious treats every time!
Why You’ll Love This Recipe
- Unmatched Softness: Avalanche Cookies come out perfectly chewy and tender every single time, making each bite melt-in-your-mouth delicious.
- Chocolate Explosion: Loaded with chocolate chips and chunks, these cookies satisfy any chocoholic’s cravings with their rich, indulgent taste.
- Simple Ingredients: You don’t need fancy or complicated ingredients—just pantry staples that combine effortlessly to create pure cookie magic.
- Festive Appearance: Dusting the cookies with powdered sugar gives them a pretty, snowy look, perfect for gifting or holiday celebrations.
- Easy to Customize: This recipe is a fantastic base that you can personalize with nuts, different chocolates, or even dried fruits to suit your taste.
Ingredients You’ll Need
Each ingredient plays an essential role in achieving the perfect Avalanche Cookies—ensuring fluffy texture, rich flavor, and a beautiful finish. Here’s everything you’ll need to create these irresistible treats:
- All-purpose flour: The foundation that gives the cookies structure and chewiness.
- Baking powder: Helps the cookies rise just enough for the perfect softness.
- Salt: Enhances the overall flavor and balances the sweetness.
- Unsalted butter: Adds richness and moisture, making the cookies tender and flavorful.
- Granulated sugar: Provides sweetness and helps with cookie spread during baking.
- Brown sugar: Adds moisture and a slight caramel note for depth of flavor.
- Vanilla extract: Infuses warmth and rounds out the flavor palette beautifully.
- Eggs: Act as a binder and contribute to the soft texture without heaviness.
- Chocolate chips and chunks: The star of the show—choose a mix for fun texture and rich chocolate bursts.
- Powdered sugar: For that final snowy avalanche effect that makes these cookies truly unforgettable.
Variations for Avalanche Cookies
One of the joys of Avalanche Cookies is how easy it is to make the recipe your own. Whether you need to tweak it for allergies, or just want to spice things up, here are some creative variations to try.
- Nutty Avalanche: Add chopped walnuts, pecans, or almonds to introduce a delightful crunch and nutty flavor.
- Double Chocolate: Incorporate cocoa powder into the dough for a fully chocolatey base that intensifies the chocolate chips.
- Gluten-Free Version: Substitute a gluten-free flour blend, ensuring it’s one formulated for baking to keep that chewy texture.
- Vegan Twist: Use plant-based butter and replace eggs with flaxseed meal mixed with water to keep cookies soft and flavorful.
- Dried Fruit Surprise: Toss in dried cranberries or cherries for a slightly tart bite that complements the sweetness beautifully.

How to Make Avalanche Cookies
Step 1: Prepare Your Dry Ingredients
Begin by whisking together the all-purpose flour, baking powder, and salt in a medium bowl. This ensures even distribution of leavening agents and seasoning, which is key for consistent texture throughout your cookies.
Step 2: Cream Butter and Sugars
In a large bowl, beat the unsalted butter with granulated sugar and brown sugar until light and fluffy. This aeration process helps provide that melt-in-your-mouth softness Avalanche Cookies are famed for.
Step 3: Add Eggs and Vanilla
Mix in the eggs one at a time followed by the vanilla extract. Beating well after each addition creates a smooth, cohesive dough that bakes evenly.
Step 4: Combine Wet and Dry Ingredients
Gradually fold the dry flour mixture into the wet ingredients. Avoid overmixing; stir just until the dough comes together to prevent tough cookies.
Step 5: Fold in Chocolate Chips and Chunks
Gently incorporate the chocolate chips and chunks, ensuring an even spread so every bite boasts delicious chocolate bursts.
Step 6: Scoop and Bake
Spoon dough into rounded tablespoons onto baking sheets lined with parchment paper, spacing them a couple of inches apart. Bake in a preheated oven at 350°F (175°C) for 10-12 minutes until edges are set but centers still look soft.
Step 7: Powdered Sugar Avalanche
Once slightly cooled, transfer the cookies to a wire rack and generously dust with powdered sugar, creating the signature snowy avalanche effect. This last touch both looks stunning and adds a hint of sweet contrast.
Pro Tips for Making Avalanche Cookies
- Chill the Dough: Refrigerate your dough for at least 30 minutes to reduce spreading and boost flavor.
- Use Room Temperature Eggs and Butter: This helps ingredients combine better and contributes to the perfect texture.
- Don’t Overbake: Remove cookies when edges are firm but centers still appear soft to keep them chewy and moist.
- Mix Chocolate Varieties: Combining chips and chunks creates fun texture contrasts and intensifies chocolate flavor.
- Allow Cooling Before Dusting: Powdered sugar melts on hot cookies, so dust only after they’ve cooled slightly for that beautiful snowy look.
How to Serve Avalanche Cookies
Garnishes
Enhance the rustic charm by sprinkling a little extra powdered sugar right before serving, or add a light drizzle of melted dark or white chocolate over the top for a decorative finish that tastes amazing.
Side Dishes
Pair Avalanche Cookies with a cold glass of milk, a smooth cup of coffee, or even a scoop of vanilla ice cream for a classic, comforting treat any time of day.
Creative Ways to Present
Arrange Avalanche Cookies on a festive platter sprinkled with edible glitter or crushed peppermint during holidays, or stack and tie with a rustic twine bow for delightful gifts your friends and family will adore.
Make Ahead and Storage
Storing Leftovers
Store cooled Avalanche Cookies in an airtight container at room temperature for up to five days to maintain their softness and freshness without drying out.
Freezing
Freeze baked cookies by placing them in a single layer on a baking sheet, then transferring them to a sealed freezer bag once solid. They stay delicious for up to three months frozen.
Reheating
When ready to enjoy frozen cookies, warm them in a 300°F (150°C) oven for 5-7 minutes or microwave briefly on low to revive their soft, chewy texture.
FAQs
Can I make Avalanche Cookies without eggs?
Yes! Simply substitute each egg with a flax egg made by mixing one tablespoon of ground flaxseed with three tablespoons of water, letting it sit for five minutes before adding to the dough.
How do I keep Avalanche Cookies chewy and not crunchy?
The key is not overbaking; pull them out of the oven when edges set but centers still look slightly underdone. Also, using brown sugar helps retain moisture and chewiness.
Can I use dark chocolate instead of semisweet?
Absolutely! Dark chocolate adds a richer, slightly less sweet flavor that pairs wonderfully with the soft, sweet cookie base in Avalanche Cookies.
Is it necessary to chill the cookie dough?
While not required, chilling the dough for 30 minutes improves the flavor and texture by preventing excessive spreading and helping the cookies stay soft and thick.
How should I store Avalanche Cookies for gifting?
Layer cookies between sheets of parchment paper in an airtight container to prevent sticking, and keep them at room temperature to preserve softness—perfect for sharing with loved ones.
Final Thoughts
There’s something truly special about Avalanche Cookies that makes them a standout no matter the occasion. Their soft, chewy texture paired with rich chocolate and that snowy powdered sugar finish transforms a simple cookie into a magical treat. Give this recipe a try—you’ll soon see why these cookies are an absolute favorite in every kitchen that welcomes them!