How to Make Easy Mummy Cookies Fast
If you’re looking for a fun and festive treat that’s quick to whip up and sure to impress, these Mummy Cookies are exactly what you need. Learn how to make easy Mummy Cookies fast with simple steps and delicious results—perfect for Halloween treats everyone will love! With just a few basic ingredients and a playful decorating touch, you’ll have a spooky snack that’s as tasty as it is adorable.
Why You’ll Love This Recipe
- Fast and Simple: This recipe cuts down on prep time so you can bake delicious Mummy Cookies in no time.
- Kid-Friendly Fun: Decorating these cookies is a great activity for kids and adults alike, making baking a memorable event.
- Versatile Ingredients: Made with pantry staples, this recipe doesn’t require any fancy or hard-to-find items.
- Perfect for Parties: These visually charming mummy treats are sure to be a hit at any Halloween gathering or fall event.
- Customizable: You can easily switch up the fillings and decorations to suit your tastes or dietary needs.
Ingredients You’ll Need
All the ingredients for this Mummy Cookies recipe are straightforward but essential for achieving that perfect balance of flavors and that iconic mummy look. Each element plays a role, from the rich cookie base to the sweet finishing touches.
- Cookie dough: Use your favorite sugar cookie or shortbread dough to create a sturdy yet tender base that’s easy to shape.
- White icing or melted white chocolate: This creates the “bandages” on the mummy and adds a smooth sweetness.
- Chocolate chips or small candies: Perfect for the little eyes that bring the mummy to life.
- Optional food coloring: Use if you want to tint the icing slightly spooky shades like pale green or orange.
- Edible markers or gel icing: Great for adding details or faces if you want more personality in your mummy cookies.
Variations for Mummy Cookies
One of the best things about Mummy Cookies is how adaptable this recipe is. Feel free to experiment with flavors, decorations, or dietary swaps to make these cookies uniquely yours.
- Gluten-Free Version: Substitute regular flour with gluten-free flour to make these mummy treats allergy-friendly.
- Chocolate Lover’s Twist: Use cocoa cookie dough and dark chocolate for a richer, more intense flavor.
- Vegan Adaptation: Swap butter for coconut oil and use dairy-free chocolate and icing for a cruelty-free option.
- Spiced Mummies: Add cinnamon or pumpkin pie spices to your dough for a seasonal flavor boost.
- Colorful Bandages: Use colored icing stripes instead of plain white to give your mummies a fun pop of color.

How to Make Mummy Cookies
Step 1: Prepare the Cookie Dough
Start by either making your favorite sugar cookie dough from scratch or using store-bought dough. Make sure it’s chilled if the recipe calls for it. This keeps the dough firm and easier to handle when shaping the mummies.
Step 2: Shape the Mummies
Roll the dough into small oval or rectangular shapes—these will be the mummy “bodies.” Place them on a parchment-lined baking sheet, leaving enough space between each cookie.
Step 3: Bake the Cookies
Bake according to your dough’s instructions, usually around 350°F (175°C) for 8-12 minutes, until the edges are lightly golden but the centers remain soft. Let them cool completely before decorating.
Step 4: Add the Bandage Icing
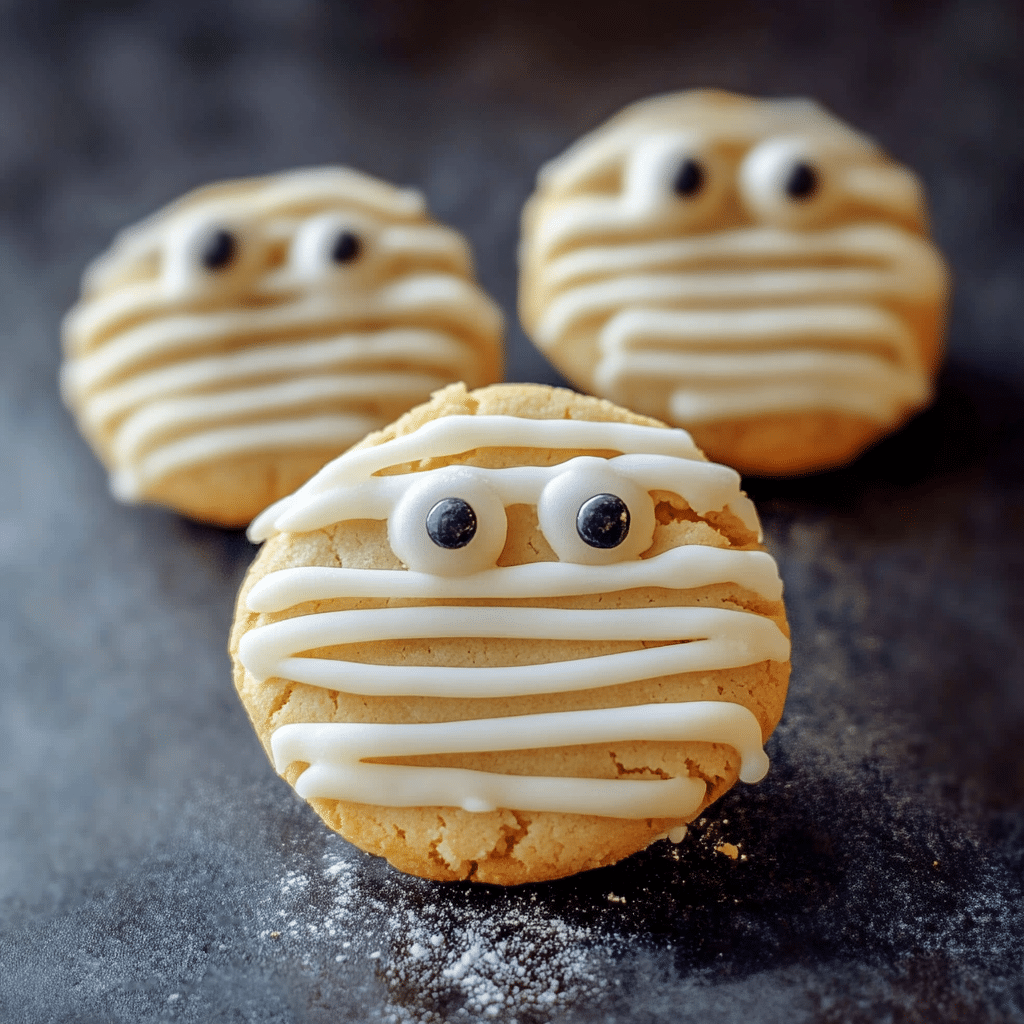
Using a piping bag or a zip-top bag with a tiny corner snipped off, drizzle white icing or melted white chocolate back and forth across the cookies to mimic mummy bandages. Be creative with overlapping stripes to get the perfect wrappings.
Step 5: Place the Eyes
Before the icing sets, press two chocolate chips or small candy eyes onto each cookie. Alternatively, use edible gel or food coloring to paint eyes if you prefer a more custom look.
Step 6: Let the Icing Set
Allow the icing to harden completely at room temperature. This makes the cookies easier to handle and gives that perfect mummy appearance.
Pro Tips for Making Mummy Cookies
- Chill the Dough: Keep your dough chilled before shaping to prevent spreading during baking.
- Use Parchment Paper: Baking on parchment makes cleanup easier and ensures even baking.
- Piping Consistency: If the icing is too runny, add powdered sugar to thicken it for cleaner lines.
- Work Quickly: Add candy eyes while the icing is still wet so they stick well.
- Practice Piping: Test your icing flow on parchment before decorating the cookies.
How to Serve Mummy Cookies
Garnishes
Sprinkle a little edible glitter or colored sugar on the icing for a spooky shimmer, or add small candy spiders for extra Halloween fun.
Side Dishes
Serve these Mummy Cookies alongside warm apple cider, hot chocolate, or a creamy pumpkin latte for a cozy seasonal combo everyone will appreciate.
Creative Ways to Present
Arrange the cookies on a platter with fresh autumn leaves or mini pumpkins for a festive display. You can also wrap them individually in clear bags tied with orange or black ribbons for party favors.
Make Ahead and Storage
Storing Leftovers
Store your Mummy Cookies in an airtight container at room temperature for up to one week to keep them fresh and soft.
Freezing
You can freeze undecorated cookies or fully decorated ones by placing them in a single layer on a baking sheet, freezing until firm, then transferring to a freezer-safe container for up to three months.
Reheating
Let frozen cookies thaw at room temperature. Warm slightly in a low oven or microwave for a few seconds if you prefer them soft and freshly baked.
FAQs
Can I use store-bought cookie dough for Mummy Cookies?
Absolutely! Store-bought cookie dough works perfectly and helps save time, making this recipe even faster to prepare.
What is the best icing for decorating Mummy Cookies?
Royal icing or melted white chocolate works best as they harden nicely and create the signature mummy bandage look.
Can I make Mummy Cookies gluten-free?
Yes, by using gluten-free flour blends in your cookie dough, you can easily enjoy gluten-free Mummy Cookies without sacrificing taste.
How do I prevent the icing from running on the cookies?
Ensure your icing is thick enough by adjusting the powdered sugar amount, and pipe slowly to avoid drips and runs.
Can I decorate Mummy Cookies in advance?
Definitely! Decorate the cookies fully and store them in an airtight container. Just be sure the icing is completely dry before stacking or packaging.
Final Thoughts
Making these Mummy Cookies is such a joy, combining simple ingredients and quick steps to create a fun, festive treat that everyone will adore. Whether you’re baking with family or planning a Halloween party, this easy recipe delivers both charm and deliciousness with each bite. Give it a try and watch your spooky snack table come alive with these playful little mummies!


